A damp attic rarely announces itself with a puddle. More often, it starts with a musty smell, frosted roof nails, dark wood sheathing, or insulation that feels damp when no rain has fallen. This attic moisture prevention guide explains how to find the source, protect your roof system, and prevent small warning signs from turning into mold, rot, ice dams, or an expensive roof repair.
For Hudson Valley property owners, the risk rises during cold weather. Heated indoor air carries moisture upward, and when that warm air reaches a cold attic surface, it condenses. A roof can look perfectly sound from the street while moisture quietly damages the structure beneath it.
Why attic moisture happens
Attic moisture usually comes from one of three places: indoor air leaking into the attic, poor attic ventilation, or water entering through the roof. These problems can overlap, which is why treating the visible symptom without identifying the source often leads to repeat damage.
The most common cause is air leakage from the living space below. Warm air escapes through gaps around recessed lights, attic hatches, plumbing stacks, wiring holes, chimneys, and wall openings. In winter, that air hits cold roof decking and nails. Condensation forms, then can freeze, drip, soak insulation, and feed mold growth as temperatures change.
Ventilation matters, but it is not a substitute for air sealing. A poorly sealed ceiling lets an excessive amount of warm, humid air into the attic. Adding more vents alone may not solve the problem. On the other hand, an attic with blocked soffit vents, inadequate exhaust ventilation, or crushed insulation at the eaves cannot reliably move out the moisture that does get inside.
A roof leak is the third possibility. Damaged shingles, flashing failures, worn pipe boots, chimney issues, loose ridge caps, and ice dams can all allow water into the attic. Unlike condensation, a leak may be concentrated in one location and often gets worse after rain, snowmelt, or wind-driven storms.
Attic moisture prevention guide: start with the clues
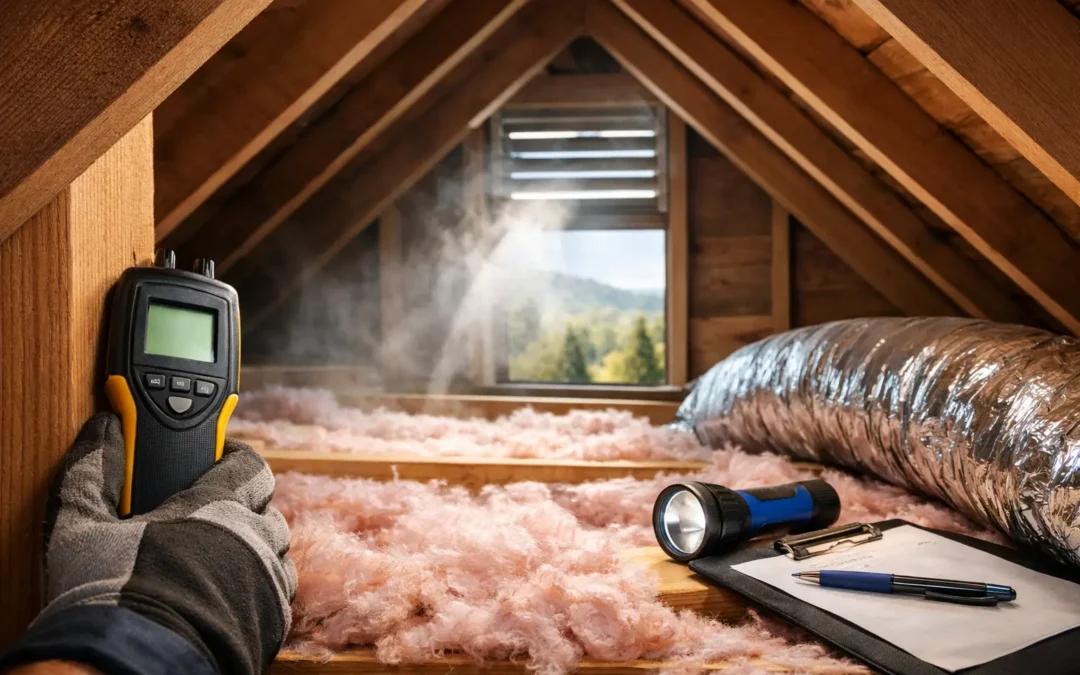
Before making changes, look for patterns. Check the attic on a dry day and again after heavy rain or a rapid thaw. Use a bright flashlight, avoid stepping between ceiling joists, and do not disturb suspected mold without proper protection.
Condensation tends to leave widespread evidence. You may see water droplets or frost on the underside of roof sheathing, rusty nails, damp insulation across broad areas, peeling paint near the attic hatch, or black spotting on wood. A roof leak is more likely to create a distinct wet path, stain, or soft area near a roof penetration, valley, chimney, or exterior wall.
Also pay attention to what is venting into the attic. Bathroom exhaust fans, kitchen vents, and dryer vents should terminate outdoors, not into attic space. Even a fan that is technically ducted outside can create trouble if the duct has separated, is poorly insulated, or slopes the wrong way and collects condensation.
If you notice a strong odor, visible mold, sagging roof decking, active dripping, or widespread frost, do not wait for spring. Moisture damage becomes more complicated and costly as it spreads.
Seal air leaks before adding more insulation
Air sealing is one of the most effective ways to control attic condensation. The goal is to create a continuous boundary between conditioned living space and the attic above it. This work is detailed, and older homes often have more openings than homeowners expect.
Common trouble spots include the attic access hatch, plumbing and electrical penetrations, recessed lighting, duct chases, open framing cavities, and the area around masonry chimneys. An attic hatch should be weatherstripped and insulated. Gaps around wiring and plumbing should be sealed with materials rated for their intended use. Chimneys require fire-safe clearance and approved materials, so this area should be handled carefully by a qualified professional.
Insulation comes after air sealing, not before. If insulation covers leaks without sealing them, warm air can still travel through it and condense against the roof deck. Wet insulation also loses performance, forcing your heating system to work harder while leaving the attic vulnerable.
The right insulation level depends on the home, the existing material, and local building requirements. What matters most is complete, even coverage without blocking airflow at the eaves. Insulation baffles keep a clear channel between soffit vents and the roof sheathing, allowing the attic to breathe while maintaining insulation depth.
Make ventilation work as a system
A properly ventilated attic generally brings cooler, drier air in through intake vents near the soffits and releases warmer air through exhaust vents near the ridge or high on the roof. This balanced flow helps remove moisture and reduces heat buildup in warmer months.
The details depend on roof design. A simple gable roof may use ridge and soffit ventilation effectively, while a complicated roof with valleys, dormers, cathedral ceilings, or limited overhangs may need a more tailored solution. Power vents are not automatically the answer. If they are improperly sized or installed without adequate intake, they can pull conditioned air from the home and worsen the problem they were meant to solve.
Keep soffit vents clear of paint, debris, insect nests, and insulation. From inside the attic, look for daylight at the eaves where appropriate and confirm that insulation has not been packed tightly against the roof deck. From outside, check that ridge vents are continuous, secure, and free of obvious damage.
Control roof leaks, gutters, and ice dams
Not every wet attic is a ventilation issue. Your roof is the final line of defense against rain and snow, so regular exterior maintenance belongs in any moisture-prevention plan.
Look for missing or lifted shingles, cracked flashing, exposed fasteners, damaged pipe boots, loose gutters, and debris buildup in valleys. Water that cannot move freely through gutters and downspouts can back up at the roof edge. In winter, that backup can contribute to ice dams, where melting snow refreezes at colder eaves and forces water under the shingles.
Ice dams are often tied to attic heat loss. Warm areas of the roof melt snow from below, while cold edges refreeze it. Better air sealing, adequate insulation, and balanced ventilation help address the underlying conditions. Removing ice alone may reduce an immediate risk, but it does not correct the reason it formed.
Keep gutters clean and ensure downspouts direct water away from the foundation. This will not stop attic condensation, but it helps prevent roof-edge water problems that can mimic or compound attic moisture damage.
Use a seasonal attic checkup
A quick inspection twice a year can catch trouble early – once before winter and once after the snow season. After major storms, inspect sooner if you see ceiling stains, notice a new odor, or find water near exterior walls.
During each check, look at roof sheathing, fasteners, insulation, vents, ducts, and the attic hatch. Confirm that bathroom and dryer ducts remain connected and vent outdoors. Outside, scan the roofline and gutters from the ground for obvious changes. Avoid climbing onto a steep, wet, icy, or damaged roof. The safest inspection is one that does not create a new emergency.
For landlords and commercial property owners, document what you find. Photos and dates make it easier to track recurring damp areas and determine whether a repair has resolved the issue.
Know when to bring in a roofing professional
A professional inspection is the right move when the source is unclear, the attic has visible mold, roof decking feels soft, leaks return after repairs, or ice dams keep forming. Moisture is not always caused by one obvious defect. A thorough assessment may need to consider the roof covering, flashing, ventilation layout, insulation, interior air leaks, and exhaust duct routing together.
CPG Roofing & Siding can inspect the roof system for exterior entry points and explain repair options clearly, so you can address the cause instead of repeatedly treating the damage. Fast attention is especially valuable when a winter thaw, storm, or active leak is involved.
A dry attic protects far more than the space above your ceiling. It helps preserve insulation, framing, indoor air quality, and the roof investment that protects your entire property. If something looks damp, frosted, stained, or out of place, act while the solution is still straightforward.