
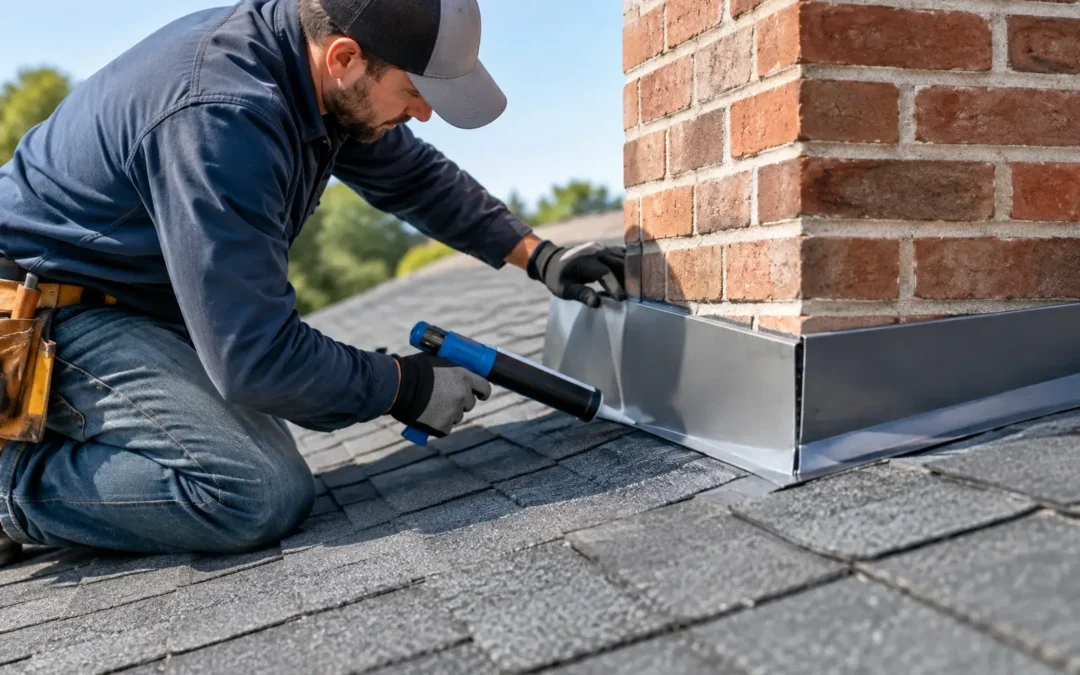
A roof leak that appears beside a chimney, below a skylight, or along an upstairs wall often points to one overlooked part of the roofing system: flashing. This roof flashing repair guide explains what to look for, what can wait, and when a small opening needs prompt professional attention. In the Hudson Valley, wind-driven rain, freeze-thaw cycles, ice dams, and heavy snow can turn a loose piece of metal into water damage inside your home.
Flashing is not the most visible part of a roof, but it does some of the most important work. It directs water away from the vulnerable intersections where roofing materials meet walls, vents, chimneys, valleys, dormers, and skylights. When flashing fails, water can slip beneath shingles and travel before it becomes visible indoors. The stain on your ceiling may be several feet from the actual entry point.
What Roof Flashing Does and Why It Fails
Roof flashing is usually made from galvanized steel, aluminum, copper, or another corrosion-resistant metal. It is installed in overlapping sections so water sheds downward and outward rather than backing up under the roof covering. Proper installation matters as much as the material itself. A good flashing system works with the shingles, underlayment, gutters, and roof slope as one protective assembly.
The most common problems are lifted edges, cracked sealant, rust, loose fasteners, bent metal, and poorly integrated repairs from previous work. Flashing can also fail when a roof settles slightly, a chimney moves, or winter ice forces water where it does not belong.
Age is another factor. Sealants dry out over time, especially on sun-exposed areas. Metal expands and contracts with changing temperatures. A repair that looked acceptable for years can open up after a hard winter or a powerful storm.
Know the Main Types of Flashing
Understanding where flashing belongs helps you narrow down a leak without guessing. You do not need to climb onto the roof to recognize the warning signs.
Chimney Flashing
Chimneys need both base flashing and counterflashing. Base flashing sits against the roof, while counterflashing is set into the masonry or attached to the chimney to cover the upper edge. If mortar cracks, counterflashing pulls away, or sealant fails, water can enter at the chimney-roof joint.
Look for damp spots on the ceiling or walls near the fireplace, peeling paint, visible gaps at the chimney, or rusted metal. Chimney flashing repairs are often more involved than they appear because a lasting repair may require masonry work as well as roofing work.
Step Flashing Along Walls and Dormers
Step flashing consists of small, individual metal pieces woven between shingle courses where a roof meets a vertical wall. Each piece should overlap the next, creating a layered path for water to escape.
When step flashing is missing, nailed incorrectly, or covered only with caulk, leaks can develop along the wall line. Water stains near a dormer or a second-story exterior wall are a common clue. Because siding may need to be carefully removed and reset, this is usually best handled by an experienced roofing contractor.
Vent, Pipe, and Skylight Flashing
Plumbing vent pipes use a flashing boot that seals the opening around the pipe. Rubber collars can crack from age and UV exposure. A split boot may cause a leak that seems minor during light rain but becomes obvious during a downpour.
Skylights have manufacturer-specific flashing systems. Replacing a few shingles or applying sealant around the frame rarely corrects an installation problem. If the skylight itself has failed, condensation between panes or water entering at the frame can look similar to flashing trouble, so a careful inspection is essential.
Valley Flashing
A roof valley is where two slopes meet and channel a large volume of water. Open metal valleys and closed shingle valleys both depend on correct underlayment and installation. Debris, ice buildup, cracked shingles, and exposed fasteners can all compromise this high-flow area.
Warning Signs You Should Not Ignore
A flashing issue does not always create a dramatic drip. Many leaks begin slowly, wetting insulation, roof decking, or framing before showing up inside. Check your attic after a heavy rain if it is safe to do so. Use a flashlight and look for wet wood, dark staining, active drips, damp insulation, or a musty odor.
From the ground, watch for lifted shingles near roof penetrations, bent flashing, exposed nail heads, deteriorated sealant, or debris collecting behind a chimney. Inside, bubbling drywall, fresh ceiling stains, and discoloration around windows or walls near roof transitions all deserve attention.
Do not assume every moisture mark is a roof leak. Condensation, plumbing leaks, and siding problems can produce similar symptoms. That is why inspection matters. Repairing the wrong area wastes time and can leave the real source open to further damage.
Roof Flashing Repair Guide: Safe First Steps
If water is actively entering your home, focus first on limiting interior damage. Move furniture and valuables, place a container beneath drips, and carefully relieve a bulging ceiling only if you can do so safely. A water-filled ceiling can collapse without warning, so keep people out of the area and call for help if the sag is significant.
From outside, do not climb onto a wet, icy, steep, or storm-damaged roof. In Orange, Dutchess, Ulster, and Sullivan County, winter conditions can make a simple repair dangerous fast. A tarp may be an appropriate emergency measure when installed by a professional, but it is not a permanent repair.
If you can safely inspect from a ladder or the ground, take clear photos of the suspected area and note when the leak occurs. Does it happen only during wind-driven rain? After snow melts? During ice dam conditions? Those details help identify whether the issue is flashing, shingles, gutters, ventilation, or another part of the exterior.
Avoid using roofing cement or caulk as a blanket fix. Sealant has a role in certain flashing details, but it should support a properly layered system, not replace one. Smearing tar over loose metal can trap water, hide corrosion, and make the eventual repair more difficult. It may stop a drip temporarily, but it rarely delivers durable protection.
When a Repair Is Reasonable and When Replacement Makes Sense
A targeted flashing repair can be the right solution when the surrounding shingles and roof decking are in good condition. For example, a contractor may replace a cracked vent boot, reset a small section of loose step flashing, install new counterflashing, or replace corroded valley metal.
Replacement becomes more practical when flashing damage is widespread, shingles around the area are brittle or failing, or the roof is near the end of its expected service life. Removing and reinstalling old shingles around a repair can cause additional breakage. On an aging roof, investing in repeated spot repairs may cost more than coordinating the flashing work with a planned roof replacement.
The right answer depends on the roof’s age, the source of the leak, the condition beneath the shingles, and whether the original flashing was installed correctly. A thorough inspection should include the roof surface, attic, penetrations, drainage paths, and visible exterior transitions. The goal is not just to stop today’s leak. It is to correct the condition that allowed water behind the roof system.
What Professional Flashing Repair Should Include
A dependable repair begins with locating the actual water path, not simply patching the stain’s location. The contractor should remove compromised materials as needed, inspect the decking and underlayment, and replace damaged components before installing new flashing in the correct sequence.
For chimney and wall flashing, proper integration with shingles, siding, or masonry is critical. For pipe boots and skylights, the replacement must match the roof system and penetration details. The finished work should shed water naturally without relying on excessive exposed sealant.
Ask how the repair will address hidden moisture and whether surrounding shingles can be reused safely. You should also receive a clear explanation of the scope, workmanship expectations, cleanup, and any warranty coverage. Good communication matters when your home’s protection is on the line.
CPG Roofing & Siding provides responsive roof inspections and repair support for property owners who need clear answers, organized service, and durable workmanship. If you see a new stain, loose flashing, or a leak after a storm, acting early can protect the roof structure, insulation, and interior finishes from a far more expensive repair.