
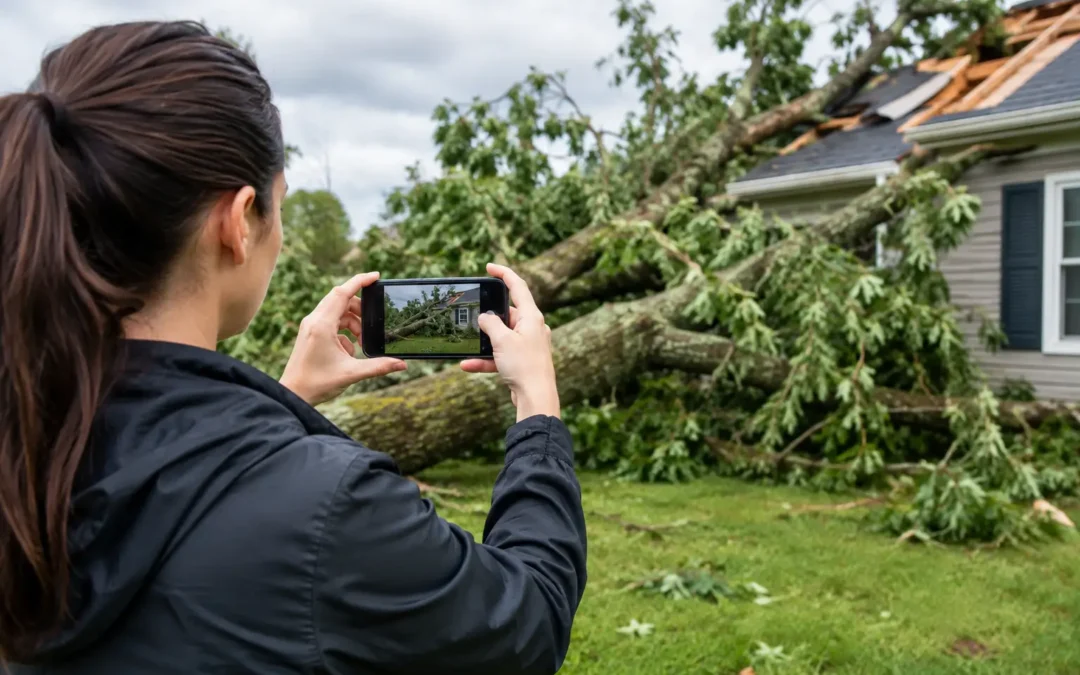
A storm can leave behind obvious damage, such as missing shingles or a fallen tree limb. More often, the costly damage is harder to see: lifted flashing, bruised shingles, loosened siding, dented gutters, or a small roof opening that becomes a leak during the next hard rain. Knowing how to document storm damage right away gives you a clear record of what happened and puts you in a stronger position when speaking with your insurance carrier or a qualified exterior contractor.
The first priority is safety. Do not climb onto a roof, walk beneath hanging branches, touch downed power lines, or enter an area with a sagging ceiling. Documentation matters, but no photo is worth an injury. Start from a safe position at ground level, then arrange a professional inspection for areas you cannot safely assess.
Start Before Cleanup Begins
After severe wind, hail, heavy rain, or snow, it is natural to want your property back in order quickly. Before moving debris, covering damaged areas, or making repairs, take broad photos and video of the property exactly as you found it. This establishes the storm’s immediate impact and helps show where debris, water, or exterior damage occurred.
Take a slow video from the street or driveway, then walk around the building while recording. Include the roofline, siding, gutters, windows, doors, fences, sheds, HVAC equipment, and any damaged landscaping. Narrate the date, approximate time, weather event, and anything you notice, such as water entering near a chimney or shingles scattered in the yard.
If emergency cleanup cannot wait, document first whenever conditions allow. For example, if a branch has punctured the roof and rain is still coming, photographs should take only a few minutes. Then take reasonable steps to prevent additional damage, such as placing a tarp over an opening or moving belongings away from active leaks. Keep receipts for emergency materials and services.
How to Document Storm Damage With Photos
Good storm-damage photos tell a complete story. One close-up of a torn shingle may be useful, but it is much stronger when paired with a wider image showing where that shingle sits on the roof and another photo showing the affected side of the home.
Use your phone’s original camera files whenever possible. Avoid filters, edits, or screenshots that may remove date information. Make sure images are in focus, and photograph damage from several distances. A basic set includes:
- Wide shots that show the entire side of the property or roof slope
- Medium-range photos that place the damage near a gutter, window, vent, chimney, or other fixed feature
- Close-ups of missing shingles, dents, cracked siding, bent flashing, damaged fascia, or water stains
- Photos of storm debris, damaged personal property, and any temporary protective work
For hail or wind damage, scale helps. Place a tape measure or ruler beside a dented gutter, damaged downspout, or fallen branch when it is safe to do so. Do not force shingles up or pull materials apart to create a better picture. That can worsen the damage and may make it harder to determine what the storm caused.
Inside the building, photograph ceiling stains, peeling paint, wet insulation, warped flooring, and damaged belongings. If water is actively entering, record a short video that shows the source area and the water path. Take new photos after each rainfall if staining expands or a leak returns.
Create a Simple Written Record
Photos are strongest when they are supported by clear notes. Open a document or use a notebook and record the storm date, the type of weather, when you first noticed damage, and every action you took afterward. Keep the language factual. You do not need to diagnose the roof or guess at repair costs.
A useful entry might read: “March 14, 2026, approximately 7:30 p.m. High winds and heavy rain. At 8:15 p.m., water began dripping from the living-room ceiling near the exterior wall. Found several shingles in the north-side yard. Placed a container under the leak and contacted an emergency roofing contractor.”
Continue the log as the situation develops. Note calls with your insurer, claim numbers, adjuster visits, emergency repair dates, and the names of everyone who inspected the property. Save emails, text messages, estimates, invoices, and receipts in one folder. For commercial properties, include tenant reports, business-interruption details, and records of any areas closed for safety.
Protect the Property Without Hiding the Damage
Insurance policies generally require property owners to take reasonable steps to prevent further loss. That does not mean completing permanent repairs before the claim is evaluated. It means addressing urgent conditions, such as covering an opening, removing standing water, or securing a loose gutter that could fall.
Photograph the damage before temporary work begins, photograph the temporary work itself, and retain every receipt. If you hire a contractor for emergency service, ask for an itemized invoice that clearly identifies the materials, labor, and purpose of the work. A vague receipt is less useful than documentation that states, for example, “emergency roof tarping to prevent rain intrusion.”
There is a balance here. Waiting too long to protect an active leak can lead to additional interior damage. On the other hand, authorizing a full replacement before understanding your coverage may complicate the claim process. When conditions are not an emergency, get a professional inspection and speak with your insurer before permanent work starts.
Request a Professional Storm Inspection
A safe, thorough inspection can identify damage that is not visible from the ground. Wind can break shingle seals without removing the shingles. Hail can create granule loss and impact marks that shorten roof life. Water may enter around pipe boots, vents, skylights, or chimney flashing long before it appears inside.
Ask the contractor for a written assessment with labeled photographs and a clear explanation of the observed conditions. The report should distinguish storm-related concerns from ordinary aging or pre-existing wear when possible. Honest documentation protects you from both directions: it supports legitimate damage while preventing you from pursuing a claim for conditions that are unlikely to be covered.
For Hudson Valley property owners, prompt inspections are especially valuable after high winds, ice, or heavy rain. Our changing weather can turn a minor roof vulnerability into a larger moisture problem quickly. CPG Roofing & Siding can provide a professional exterior assessment and emergency response when your roof, siding, or gutter system needs immediate attention.
What Not to Do After a Storm
Do not rely only on a contractor’s opinion or only on an adjuster’s first visit. Keep your own record. Do not throw away damaged materials, such as a fallen gutter section or broken siding panel, until your insurer confirms they are no longer needed. Store them safely if practical, or photograph them thoroughly before disposal.
Be cautious with unsolicited door-to-door offers immediately after a storm. A reputable contractor should provide identification, written scope details, proof of insurance, and clear communication without pressuring you to sign on the spot. Avoid signing documents that assign broad control of your insurance claim unless you fully understand what you are agreeing to.
Also, do not wait for a visible ceiling leak to take action. A roof may have sustained damage even when the interior still looks dry. Early documentation and inspection can prevent a small exterior issue from becoming mold, insulation damage, or structural repair later.
Prepare for the Insurance Conversation
When you file a claim, provide the facts in an organized way: the date of loss, weather event, photos, videos, written log, temporary repair receipts, and professional inspection findings. Ask your carrier what additional documentation they need and write down the claim number and adjuster’s contact information.
Keep copies of everything you submit. If an adjuster inspects the property, be present if possible, or have your contractor available to discuss the documented damage. This is not about confrontation. It is about making sure the inspection considers all affected components, including roofing, flashing, gutters, siding, and interior water damage.
A well-documented storm claim begins in the first hours after the weather clears. Take safe photos, keep factual notes, protect the building from further exposure, and bring in qualified help before a small problem has the chance to grow.