
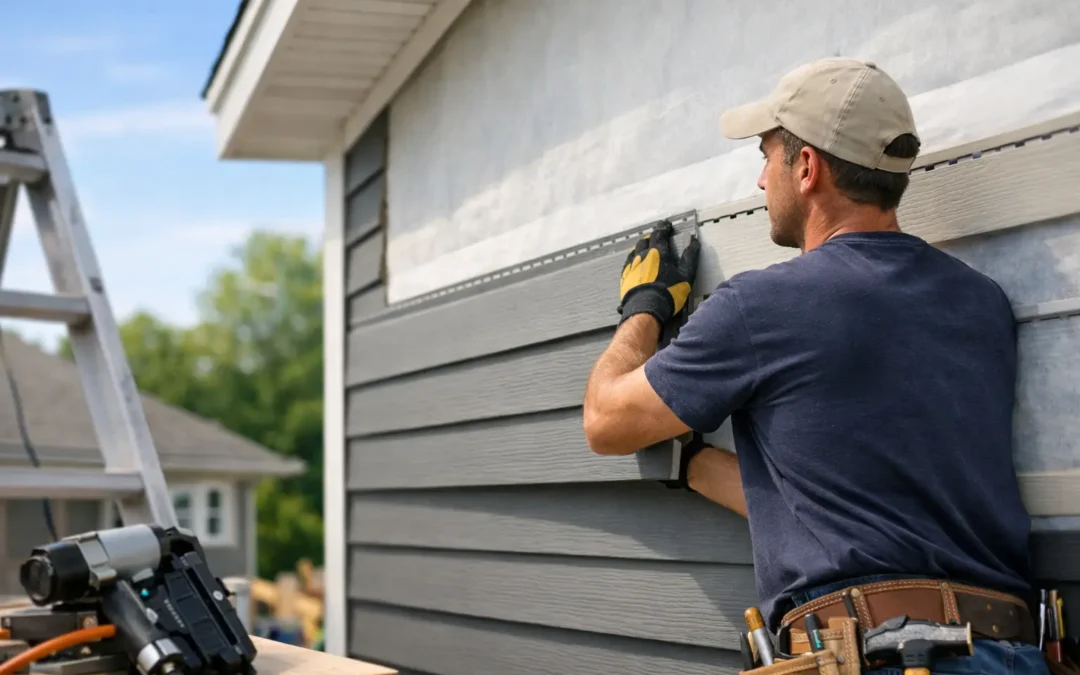
A siding project is not just a color change. It is a new protective layer between your home and Hudson Valley rain, wind, snow, summer heat, and freeze-thaw cycles. This home siding installation guide explains what a quality installation should involve, what homeowners should expect, and where shortcuts can create expensive trouble later.
New siding can improve curb appeal, energy efficiency, and confidence in your home’s condition. But the material is only part of the equation. Proper preparation, moisture management, and detailed finishing work determine whether siding performs as intended for years.
Start With the Condition of the Wall
A reliable siding installation begins before any new panels, boards, or shingles arrive. The existing siding may need to be removed, particularly if there are signs of water damage, soft sheathing, recurring leaks, insect damage, or uneven wall surfaces. Installing new siding over a damaged wall can hide a problem without solving it.
Once the wall is exposed, the contractor should inspect the sheathing, framing, window openings, trim areas, and transitions around rooflines. Any rotten wood or compromised sheathing should be replaced. This is also the right time to identify ventilation concerns or areas where water may have been entering behind the old exterior.
For some homes, an overlay installation can be appropriate. It depends on the condition and number of existing siding layers, local code requirements, and the material being installed. An honest contractor will explain whether removal is necessary and why, rather than treating every home as the same job.
Choose Siding for Your Home and Climate
The best siding material depends on your budget, the look of your home, maintenance preferences, and how much weather exposure the property receives. A south-facing wall, a heavily wooded lot, and an open property exposed to wind can all create different demands.
Vinyl siding remains a practical choice for many homeowners because it is low maintenance, cost-effective, and available in a wide range of colors and profiles. Quality vinyl must still be installed correctly. It expands and contracts with temperature changes, so panels need room to move. Nailing it too tightly can lead to buckling, warping, and visible distortion.
Fiber cement offers a durable, refined appearance and can resemble painted wood. It resists fire, insects, and rot, but it is heavier and requires careful cutting, fastening, and flashing details. Wood siding provides natural character but generally needs more ongoing maintenance, including painting or staining and close attention to moisture exposure.
Engineered wood products can offer a wood-like appearance with improved resistance to common moisture and insect issues. Metal siding may be a strong option for modern designs, commercial properties, or areas needing high impact resistance. No single product is right for every property. The right choice is the one that fits the home, the exposure, and the level of maintenance you are prepared to handle.
The Weather Barrier Is Where Protection Begins
Siding is the outermost defense, not the only defense. Wind-driven rain can get behind almost any siding material under the right conditions. That is why a proper weather-resistant barrier behind the siding is essential.
After the wall sheathing is repaired, the installation team applies a housewrap or other approved water-resistive barrier. Seams should be overlapped and taped according to the product requirements. The goal is to direct incidental moisture down and out while allowing the wall assembly to manage vapor appropriately.
Flashing is equally important. Windows, doors, wall penetrations, roof-to-wall intersections, decks, and trim transitions are common places for water intrusion. Good flashing directs water outward in layers, much like shingles on a roof. If water gets behind one component, the next layer should guide it safely back to the exterior.
This work is not always visible after the project is complete, but it is often the difference between siding that simply looks new and siding that truly protects the structure. Ask how window and door flashing will be handled before work begins.
A Home Siding Installation Guide to Proper Installation
Once the wall is prepared and protected, the visible installation can begin. The process differs by material, but quality workmanship follows the same principles: straight lines, correct fastening, room for movement where required, and careful detailing around every opening.
The installer starts with a level reference point. If the first course is off, every course above it will show the mistake. Starter strips, corner posts, trim boards, and transition pieces must be secure and aligned before field panels are installed.
For vinyl siding, fasteners should be driven through the center of the nail slots and left slightly loose so panels can move as temperatures change. Panels should not be stretched tight, and end gaps must be left where the manufacturer requires them. These details may seem minor, but they prevent panels from binding and buckling during a New York winter-to-summer temperature swing.
For fiber cement and engineered wood, installers need to follow the manufacturer’s requirements for clearances, fasteners, joint treatment, and paint or finish protection. Siding should be kept clear of roofing, steps, decks, soil, and other surfaces that can trap moisture. Ground clearance is particularly important. Siding installed too close to soil is more vulnerable to splashback, moisture damage, and pest activity.
Trim is not just decorative. It finishes edges, protects transitions, and helps direct water away from vulnerable areas. Around windows and doors, clean trim work should complement properly installed flashing, never replace it.
Expect a Clean, Organized Job Site
Exterior work can be disruptive, but it should not feel chaotic. Before installation begins, a professional crew should establish a plan for material placement, landscaping protection, debris removal, and daily cleanup. Homeowners should know where equipment will be staged, whether access to driveways will be affected, and how pets and children can be kept safely away from the work area.
Landscaping close to the home may need to be covered or temporarily moved back. Outdoor furniture, grills, decorations, and fragile items should be cleared from the immediate work zone. If old siding is being removed, expect noise and debris, but not loose materials left across the property at the end of the day.
A final cleanup should include a close inspection for nails and small debris, especially around driveways, walkways, and areas where children or pets spend time. Professional organization protects your property as much as the finished siding does.
Inspect the Finished Work Before Signing Off
When the job is complete, walk the home with the contractor. View each elevation from several angles and ask questions about any detail that does not look right. You do not need to be a siding expert to notice uneven lines, loose panels, damaged trim, exposed fasteners, or gaps that look inconsistent.
Check that siding lines appear level, corners are straight, and trim around windows and doors is clean. Make sure downspouts, exterior lights, hose bibs, vents, and other penetrations have been properly reinstalled and sealed. Confirm that the crew removed debris and that any affected landscaping or exterior fixtures were returned to a reasonable condition.
You should also receive clear information about material warranties and workmanship coverage. Keep project documents, color names, product details, and any care instructions in a safe place. If a future repair is needed after storm damage or an exterior update, those records can save time and prevent mismatched materials.
Know When to Call a Professional
Siding replacement is a major exterior project, and it often reveals conditions that are hard to see from the ground. If you notice cracked or warped panels, loose siding after high winds, peeling paint, stains near windows, soft spots, or recurring interior moisture, schedule an inspection before the issue spreads.
For homeowners in Orange, Dutchess, Ulster, and Sullivan counties, weather exposure can turn a small siding concern into wall damage quickly. CPG Roofing & Siding approaches siding work as a protection project first, with careful preparation, clear communication, and cleanup that respects the property.
The best siding installation should leave you with more than a better-looking home. It should give you confidence when the next hard rain, winter storm, or windy day hits your walls.